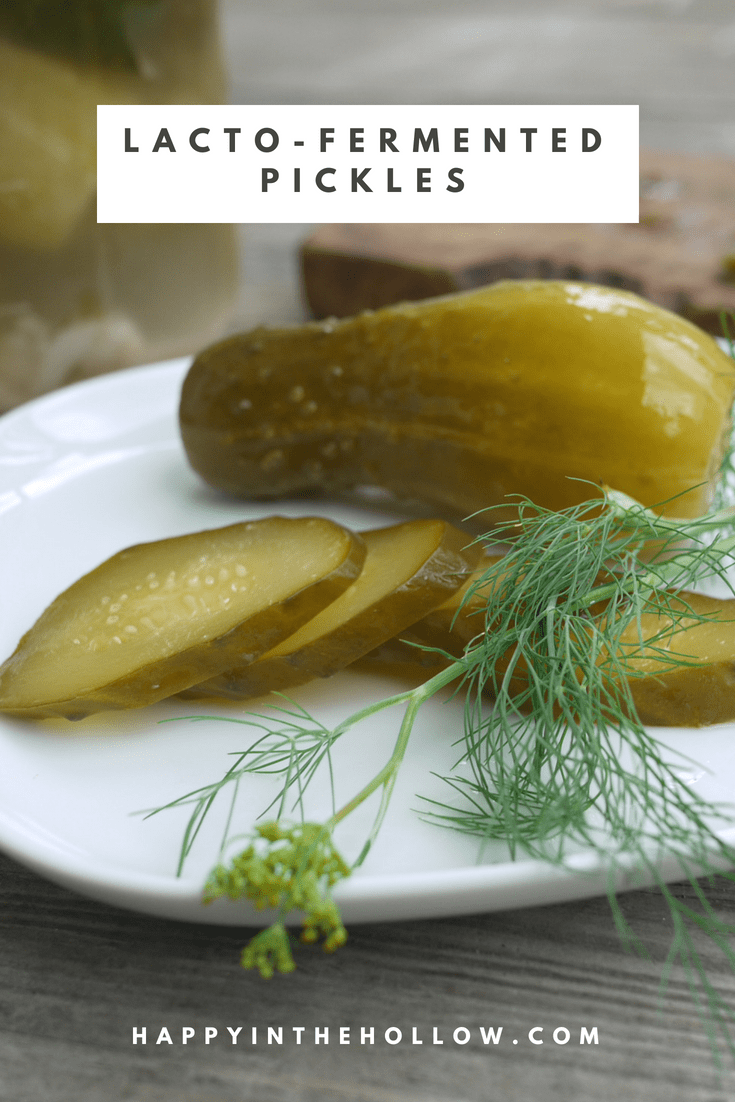
Sour, salty, and satisfyingly crunchy – that’s how we like our lacto-fermented pickles. And you can make them yourself! Here’s all you ever wanted to know about the art and science of homemade naturally fermented pickles.
You can jump straight to the recipe, but I highly recommend reading the whole post for your best shot at pickle perfection.
The cucumbers are in! And with them, the time has arrived for one of my favorite summer cooking – and eating – projects: pickles!
I’ve liked pickles for as long as I can remember. As a kid, I used to fish them out of a jar for a snack. But they were the pasteurized, vinegary type with a hint of sweetness.
Only a decade or so ago did I fully come to know and appreciate naturally fermented pickles, alive with healthy probiotics.
I was living in Poland at the time for my anthropological research. It seemed like every country kitchen I visited boasted a crock of delicious old-fashioned pickles that I was all too happy to sample. I wrote down some recipes but didn’t begin experimenting on my own until I received some more instructions and encouragement from my Ukrainian father-in-law.
A couple of weeks ago, I was invited to teach a workshop at the Fallen Tree Center for a Resilient Future on how to make lacto-fermented pickles. We had a lot of fun, and for me it was an opportunity to approach fermenting pickles more systematically. “By teaching, we learn” (Seneca) and all that.
I thought I’d quickly write up my workshop notes for this post. Haha. Here we are, a week and 3000+ words later. Because I wanted to be certain to give you reliable information supported by research.
It’s not that the fermented pickles recipe is terribly complicated. Basically, you’re layering cucumbers with spices in a fermentation vessel, pouring over a brine, and waiting. Easy.
But to give yourself the best chance of the process working out right off the bat, please read through the following background information to get some of the finer points.
Lacto-fermentation
To start, let’s talk about what makes a pickle so much more than just a salted old cucumber.
Through the process of fermentation, you’re harnessing the activity of beneficial microbes to keep foods that would otherwise spoil, edible, healthy, and delicious.
For pickles specifically, you’re surrounding cucumbers with a brine, creating conditions that give “good” bacteria a head start over putrefying bacteria and yeasts.
Your little helpers, namely lactic acid bacteria (LAB) such as Leuconostoc and Lactobacillus, are already present on the cukes, as are the “bad guys.” The brine’s salt content inhibits other microbes and thereby lets the LAB get to the vegetables’ sugars first. They metabolize them into such substances as lactic acid, alcohol, and carbon dioxide that in turn keep suppressing other microbes.
Other nice side effects: preserving the vegetables’ vitamin C, adding beneficial B-vitamins, and creating characteristic pickle flavors.
Pretty amazing, isn’t it?
You just don’t want to oversalt the brine, or you’ll slow down your LAB too much.
Some other lacto-ferments you may be familiar with are sauerkraut, kimchi, North African preserved lemons, Japanese tsukemono, and olives.
Just like wine making, vegetable fermentation is an art as much as a science. The salinity of your brine, fermentation temperatures, the microbes present on the vegetables and other factors will influence which bacteria thrive.
According to Harold McGee’s tome on cooking science, for example, “(l)ow salt concentrations and temperatures favor Leuconostoc mesenteroides, which generates a mild but complex mixture of acids, alcohol, and aroma compounds; higher temperatures favor Lactobacillus plantarum, which produces lactic acid almost exclusively. Many pickles undergo a microbial succession, which Leuconostoc dominating early and then giving way to Lactobacillus as the acidity rises” (p. 292).
I definitely can’t claim mastery, but so far I’ve managed to keep 80+ percent of my pickles in the “edible” and often even “delicious” categories.
Fermentation tools and ingredients
Ok, let’s examine the tools and ingredients we’ll be using:
Fermentation vessels
When you hear pickles, you may imagine a big barrel or a crock. Those certainly work. I’ve fermented sauerkraut and some other concoctions in a large, ceramic crock I got from a friend. They’re easiest to use when they have straight sides and come with fitted weights (more on that below). Make sure any older crocks don’t contain a lead-based glaze (use a lead test kit) or hairline cracks.
For my purposes, I like ½-gallon mason jars. They’re affordable, easy to clean by hand or in the dishwasher, can tolerate hot liquids (e.g. if you want to sterilize them), have measurements on the side, and you can easily see what’s going on inside. You can also make smaller batches of ferments.
If you don’t mind plastic, food-grade buckets work well (identifiable by the wine glass and fork symbol). You may be able to get them for free at restaurants or supermarkets. (Our local Wegmans supermarket always has them out in a bin. Clean them well.) Their life span is shorter than that of crocks or glass jars.
Just avoid metal, because it will react with the acids. Brief contact with stainless steel is fine, but most household containers are probably not made to withstand prolonged contact with corrosive acids and salt.
My understanding is that you don’t need to sterilize your jars or crocks. Cleaning them in the dishwasher or with soap and water is enough, because the salty brine inhibits putrefying bacteria for long enough until the lactic acid takes over that job.
As Sandor Katz puts it in The Art of Fermentation, “We are living in a microbial world, and these processes all developed under decidedly non-sterile conditions” (p. 43).
Still, it’s a good idea to follow all basic rules of cooking hygiene: Wash your hands with soap and water and use clean surfaces and tools.
Water
If you have city water, it’s recommended that you remove chlorine and other additives that can inhibit the cultures from growing.
You can do this by boiling the water, letting it stand overnight, or using an active charcoal filter such as this one. (Apparently a more stable form of chlorine – chloramines – can only be removed with the charcoal filter. If your ferments just don’t take off, Katz suggests finding out from your water supplier if that’s being used.)
Well water is great (it’s good to have this tested annually or whenever you have vulnerable individuals in your home), as is spring water, if you have access.
Salt
Who knew salt could be so complicated?
Because you’re trying to create a specific environment for your microbes, you need to be aware of the kind of salt you’re using in your brine.
First, try to avoid standard table salt. It contains iodine, which inhibits microbes, plus anti-caking agents that can cause cloudiness.
That leaves a bunch of other options, such as sea salt, kosher salt, and pickling salt. Plus, they are available in different crystal sizes, including coarse, fine, and superfine.
Sea salt comes from evaporated seawater and can be unrefined – containing varying amounts of minerals – or refined.
Kosher salt is sea salt with larger flakes and may contain anti-caking agents, so check the ingredients in each brand. (The name refers to the salt’s use in koshering meat, so it isn’t necessarily certified “kosher.”)
Pickling salt is pure sodium chloride.
Then there are a bunch of specialty salts, often variations on sea salt, such as fleur de sel, pink Himalayan salt, or Celtic sea salt, which should work fine for fermentation but probably aren’t worth the extra cost in this context.
Katz prefers unrefined sea salt for its spectrum of minerals. Harold McGee agrees, because calcium and magnesium impurities help cross-link and reinforce cell-wall pectins and thereby improve the pickles’ crispness.
Fine salt has the advantage of dissolving more easily in water than coarse salt. If you choose a coarse variety, try dissolving it in hot water instead. Let the brine cool before using it on the cucumbers. (You can use half hot water to dissolve the crystals, then add cold water or ice cubes to cool the brine more quickly.)
Making the brine
How much salt should you add to your brine?
Well, it depends.
According to McGee, pickles are typically made in 5-8% brine. Katz’s basic recipe is around 5%. (This is more than some other vegetables require, because cucumbers tend to get moldy and mushy.) Part of salt’s role is to keep the pickles crunchy, so if you’re using tannins (see below), you may be able to keep things on the lower end, maybe 3.5-5%.
If you have a scale, weighing your salt is the easiest way to get to the salinity you want.
One liter of water weighs 1000 grams, so to make a 5% brine, add 50 grams of salt. A quart of water weighs about 950 grams, so it’s pretty close.
This handy site takes some of the guesswork out of the calculations. (The link is for fine sea salt. You can search for different types of salt.)
American kitchens usually work with volumes, so Katz gives measurements for fine sea salt as follows: 1 tablespoon (0.6 ounces) of sea salt added to 1 quart of water makes 1.8% brine. Each additional tablespoon adds another 1.8%. His recipe uses 5.4% or 3 tablespoons per quart.
Cucumbers
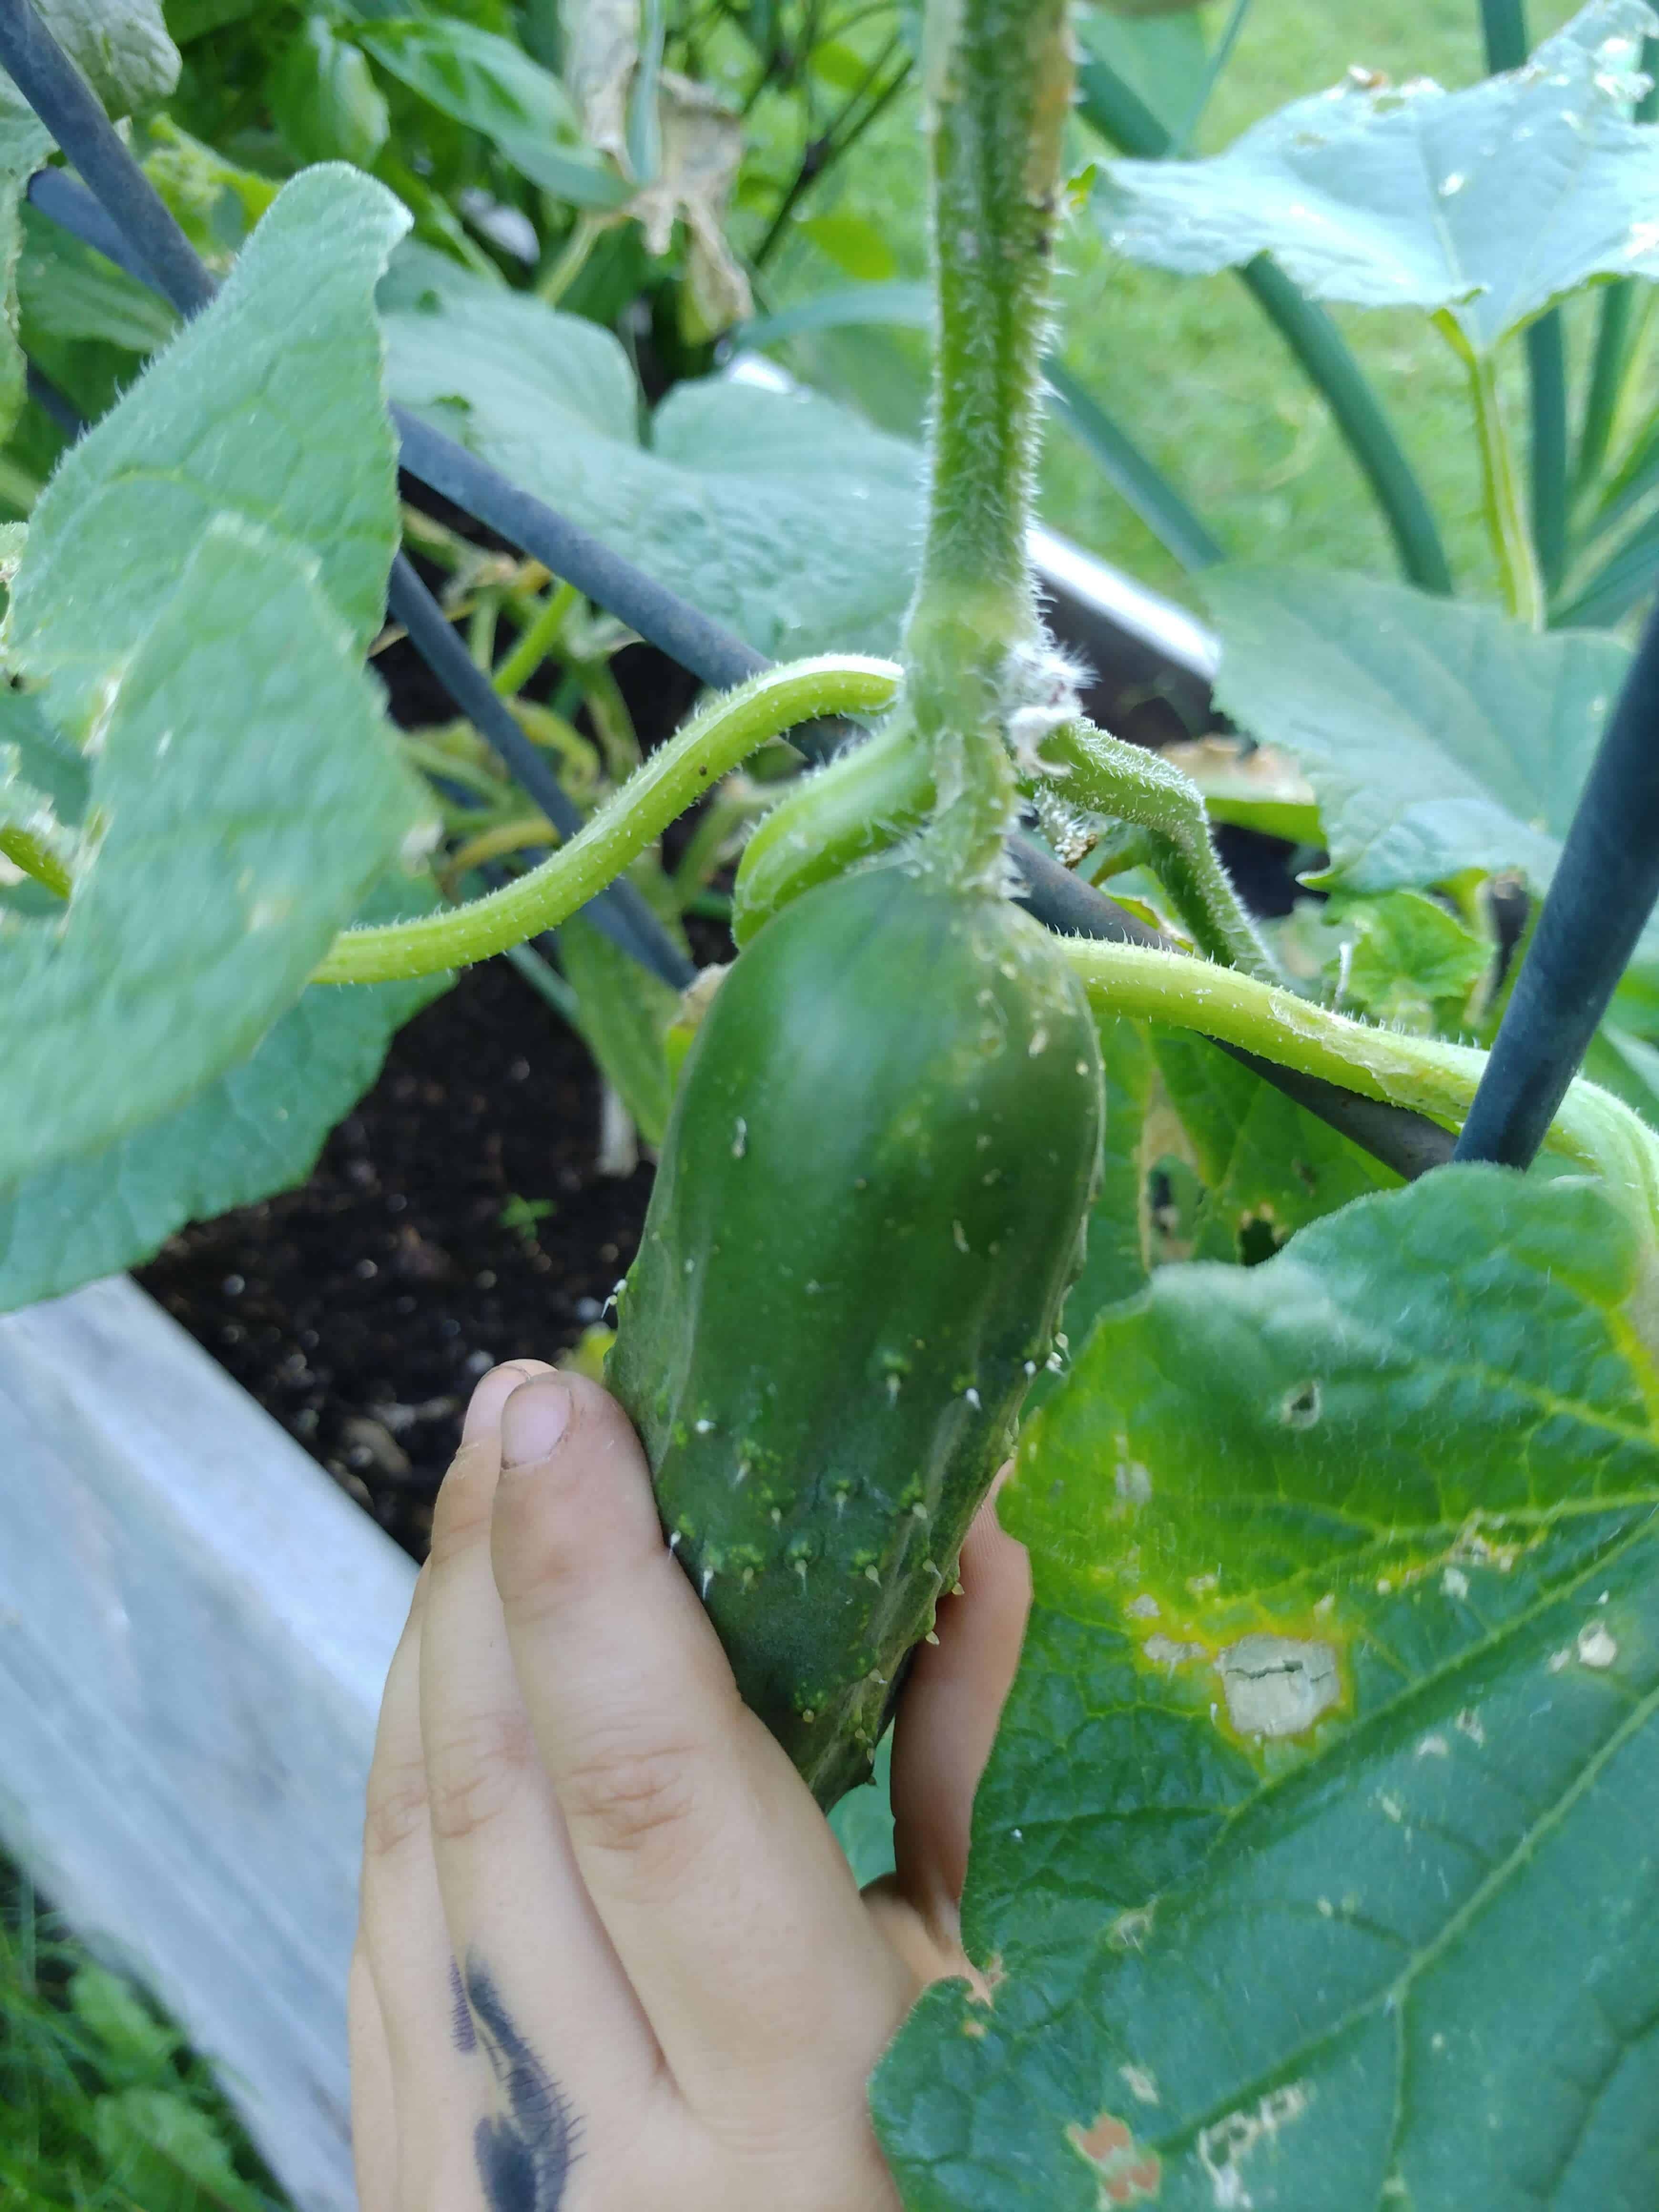
For your cucumbers, select pickling varieties, not slicing cucumbers.
You’ll want them to be as fresh as possible and unblemished. Nothing beats cucumbers picked off the vine in your garden, but we also get great cukes from the farmers market or our CSA.
If the cucumbers aren’t the freshest, you can soak them in cold or ice water for a few hours to perk them up.
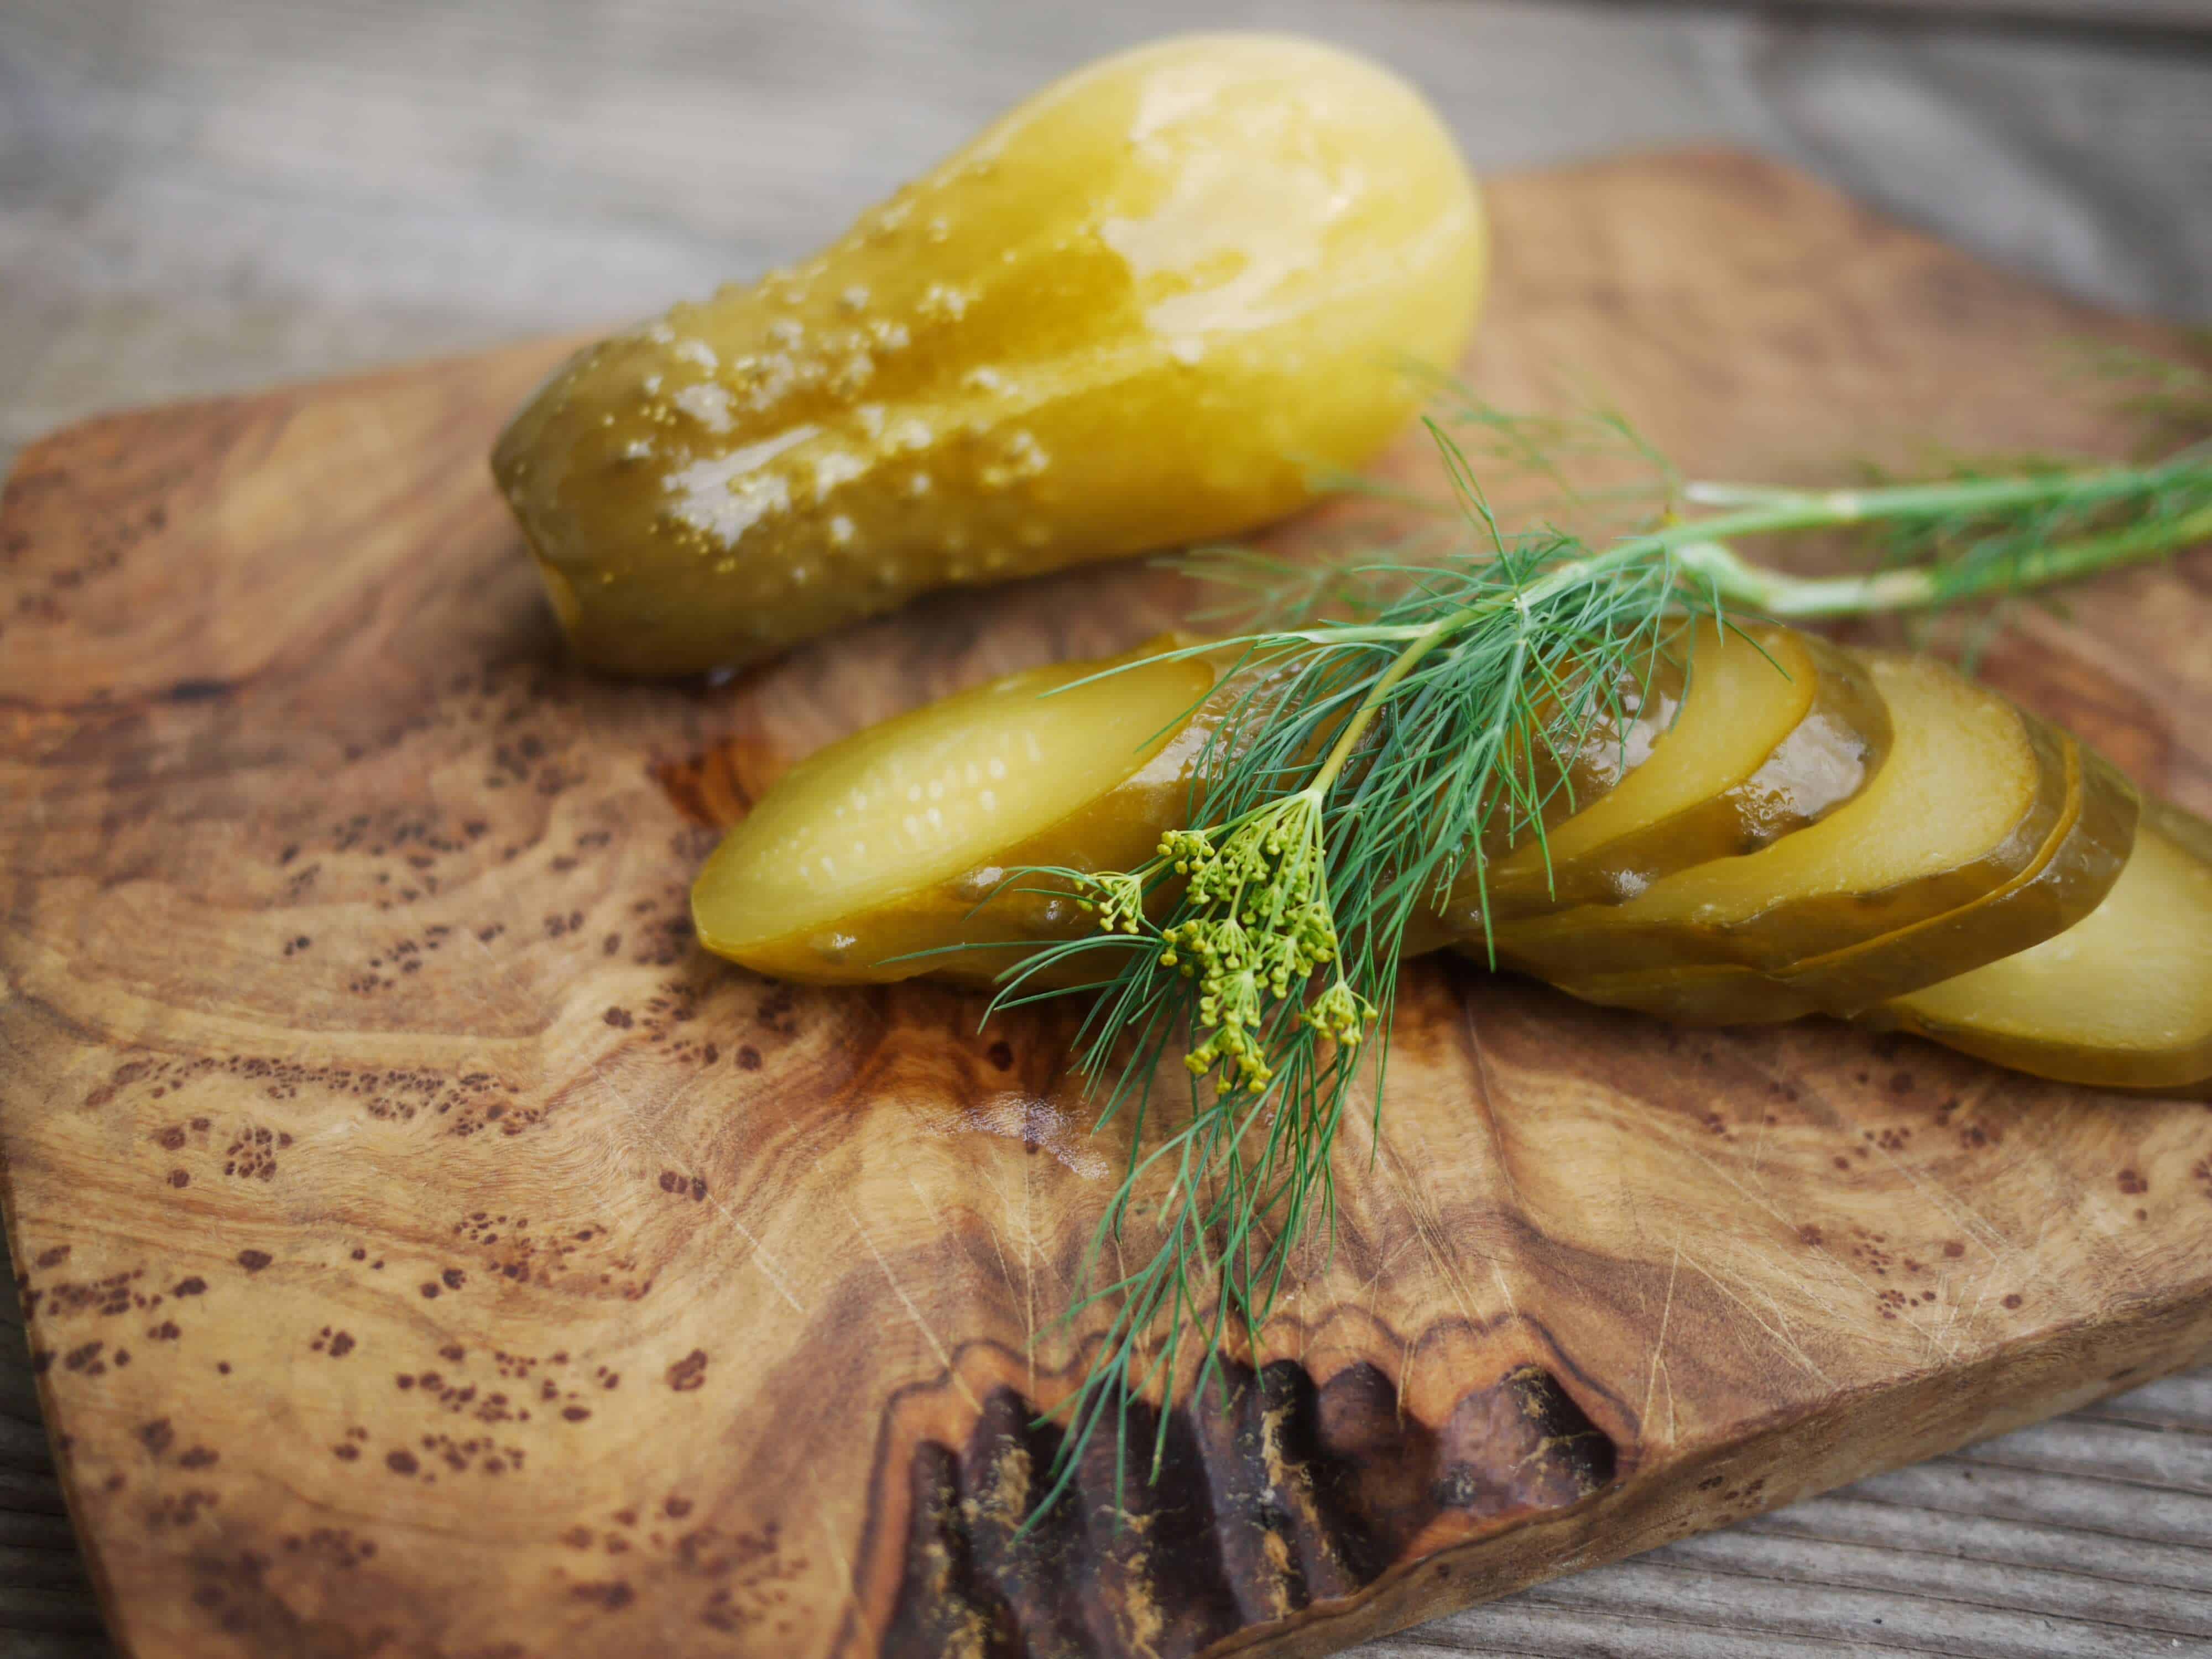
Smaller cukes, 4-5 inches long, tend to be crunchier, but you can also cut larger ones into spears or chunks.
Wash but don’t scrub the cucumbers so you remove any soil but not your lactic acid bacteria.
The blossom end – the side that’s round, not indented – needs to be “cleaned of flower remnants that harbor microbes with enzymes that cause softening” (McGee p. 294).
I’ve been cutting off both ends, because that’s what my father-in-law’s recipe says. I imagine it also helps the brine to penetrate more quickly, especially in bigger cucumbers. But I’ve also seen instructions to cut off only the blossom end or just remove any bits of flower, as McGee recommends. See what works for you. At the very least, get rid of any traces of blossom.
Tannins
Crunchiness is a must for good pickles! To ensure a satisfying snap, you need tannins that inhibit the activity of softening enzymes.
My Polish and Ukrainian recipes call for the addition of a handful of grape or sour cherry leaves, but raspberry, horseradish, and even tea or bay leaves also work. I just walk outside and grab a few leaves off our oak tree myself.
Herbs and spices
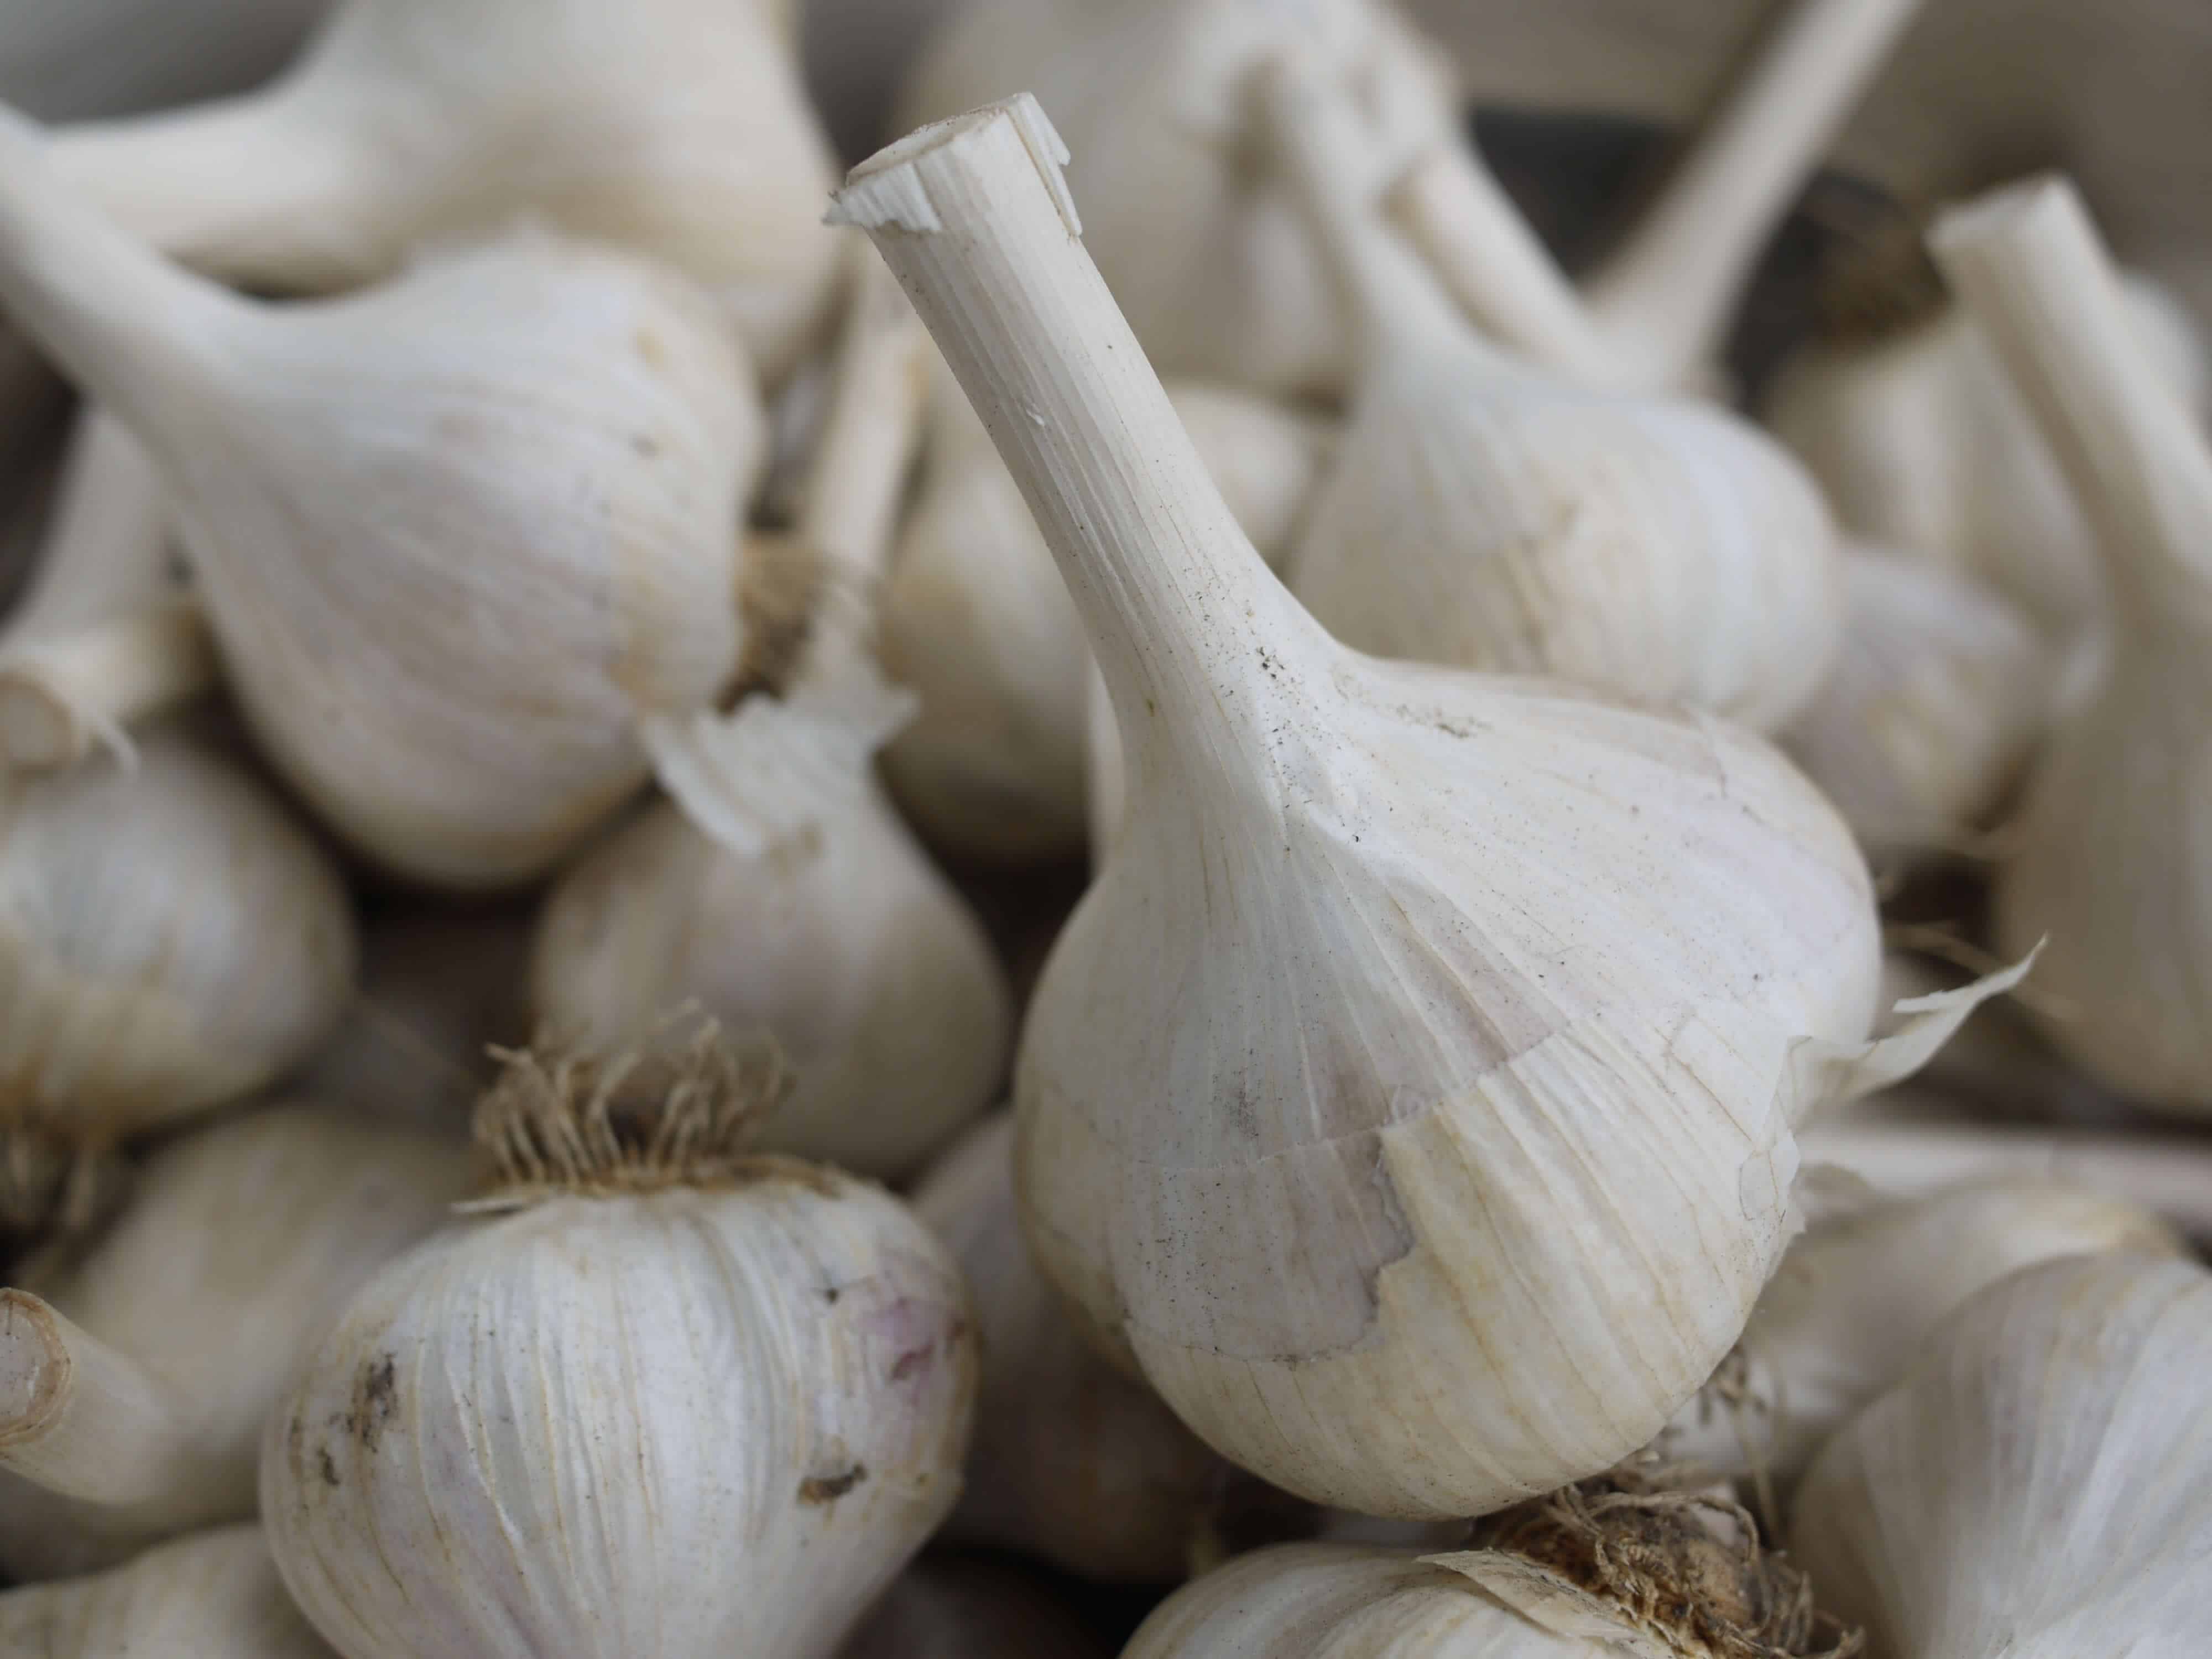
Dill and garlic are where it’s at! “Lots of garlic,” to quote my father-in-law.
Just like your pickles, your herbs should be as fresh as possible and not show any spoilage or insects.
If you have them, choose flowering dill heads, but regular whole sprigs are fine, too.
You don’t have to peel your garlic. And when I’ve run out of cloves, I’ve used garlic scapes (flower stalks) a couple of times, with great results.
My Polish friends also include a piece of horseradish root, and my father-in-law adds some zest (and antimicrobial properties) with a fresh chili pepper.
Pickling spices such as coriander, pepper, and mustard seed are optional.
You can experiment with other herbs, too. This year, for example, some critter ate all my fresh dill, so I made batches of pickles with fresh basil and coriander (green stem with flower buds and seeds on it). Not bad at all!
Weighing down the pickles
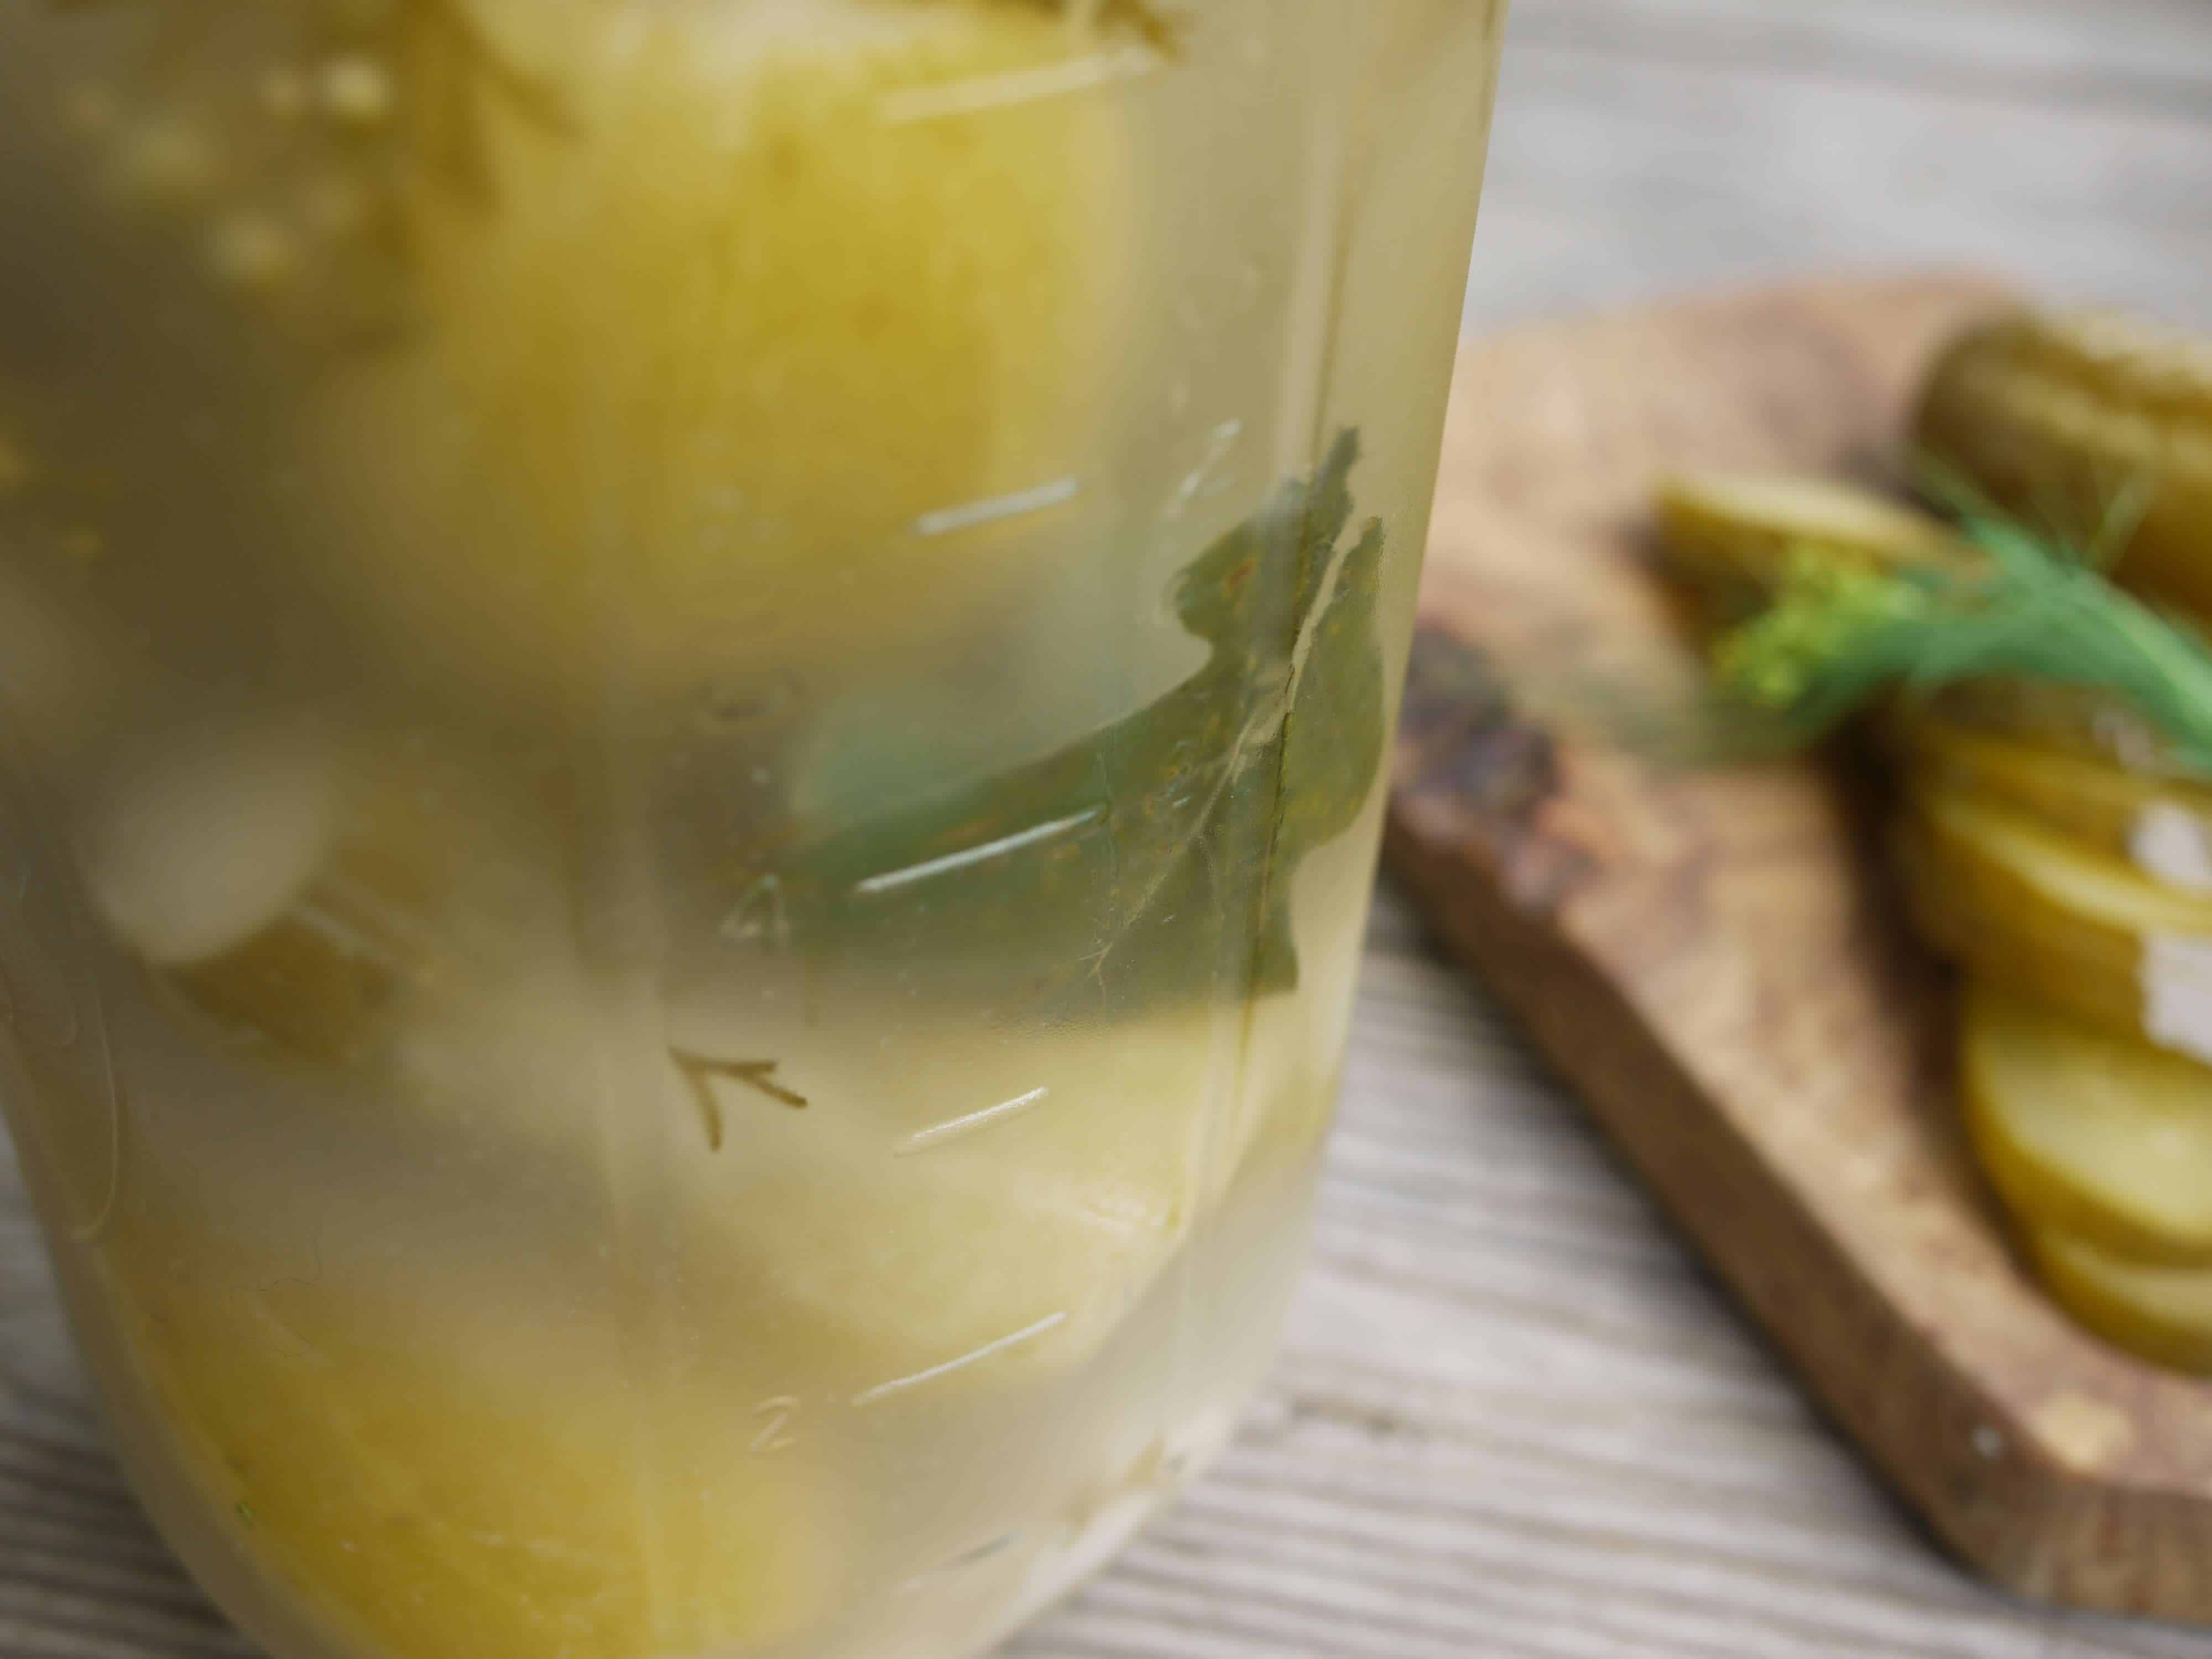
Now that you’ve selected and prepared all your ingredients, you’ll layer them into your jar and cover them in brine.
Leave some head space, because you’re going to submerge all vegetable matter under the brine, and the ferment will bubble a bit once the microbes get going.
Keeping the cucumbers away from the surface ensures that they aren’t exposed to oxygen, which would make it easier for mold to grow.
There are many different ways of doing this. For a 1/2-gallon mason jar, I like the “cheapy” ways: filling a quart-size resealable freezer bag with brine (not water, in case of leaks) or placing a smaller jelly jar on top of the cucumbers. I’ve occasionally managed to tuck a cucumber spear under the “shoulders” of the jar as a barrier.
I haven’t tried river rocks myself, but you can boil one for at least 10 minutes sterilize it.
There are commercial fermentation weights you can buy, as well. If you’re using a crock, it may have wooden or ceramic weights included.
Then either close the jar with a lid or, if your jar-in-jar is protruding, use a couple of layers of cheese cloth or a coffee filter with a rubber band to keep out dust and bugs. Some form of airlock is another, more expensive option.
If your jar is quite full, place it in a bowl (this is my favorite) to catch any overflow.
How long to ferment pickles
And now we wait…
How long depends – among other things – on the temperatures in your kitchen. 18-22°C (about 65-72°F) are a good starting place for Leuconostoc, while Lactobacillus species thrive above 22°C (72°F).
After somewhere between one and four weeks they’ll likely be fermented through.
That moment has technically come when the brine has reached a pH of 4.6, where only LAB are happy, according to this vegetable fermentation book. You can test the acidity with pH strips if you’re curious.
Inspect the pickles daily. If you’re using a closed lid, “burp” them to release any carbon dioxide building up. Skim off any foam and make sure the vegetables stay under the brine. Push them back down if necessary.
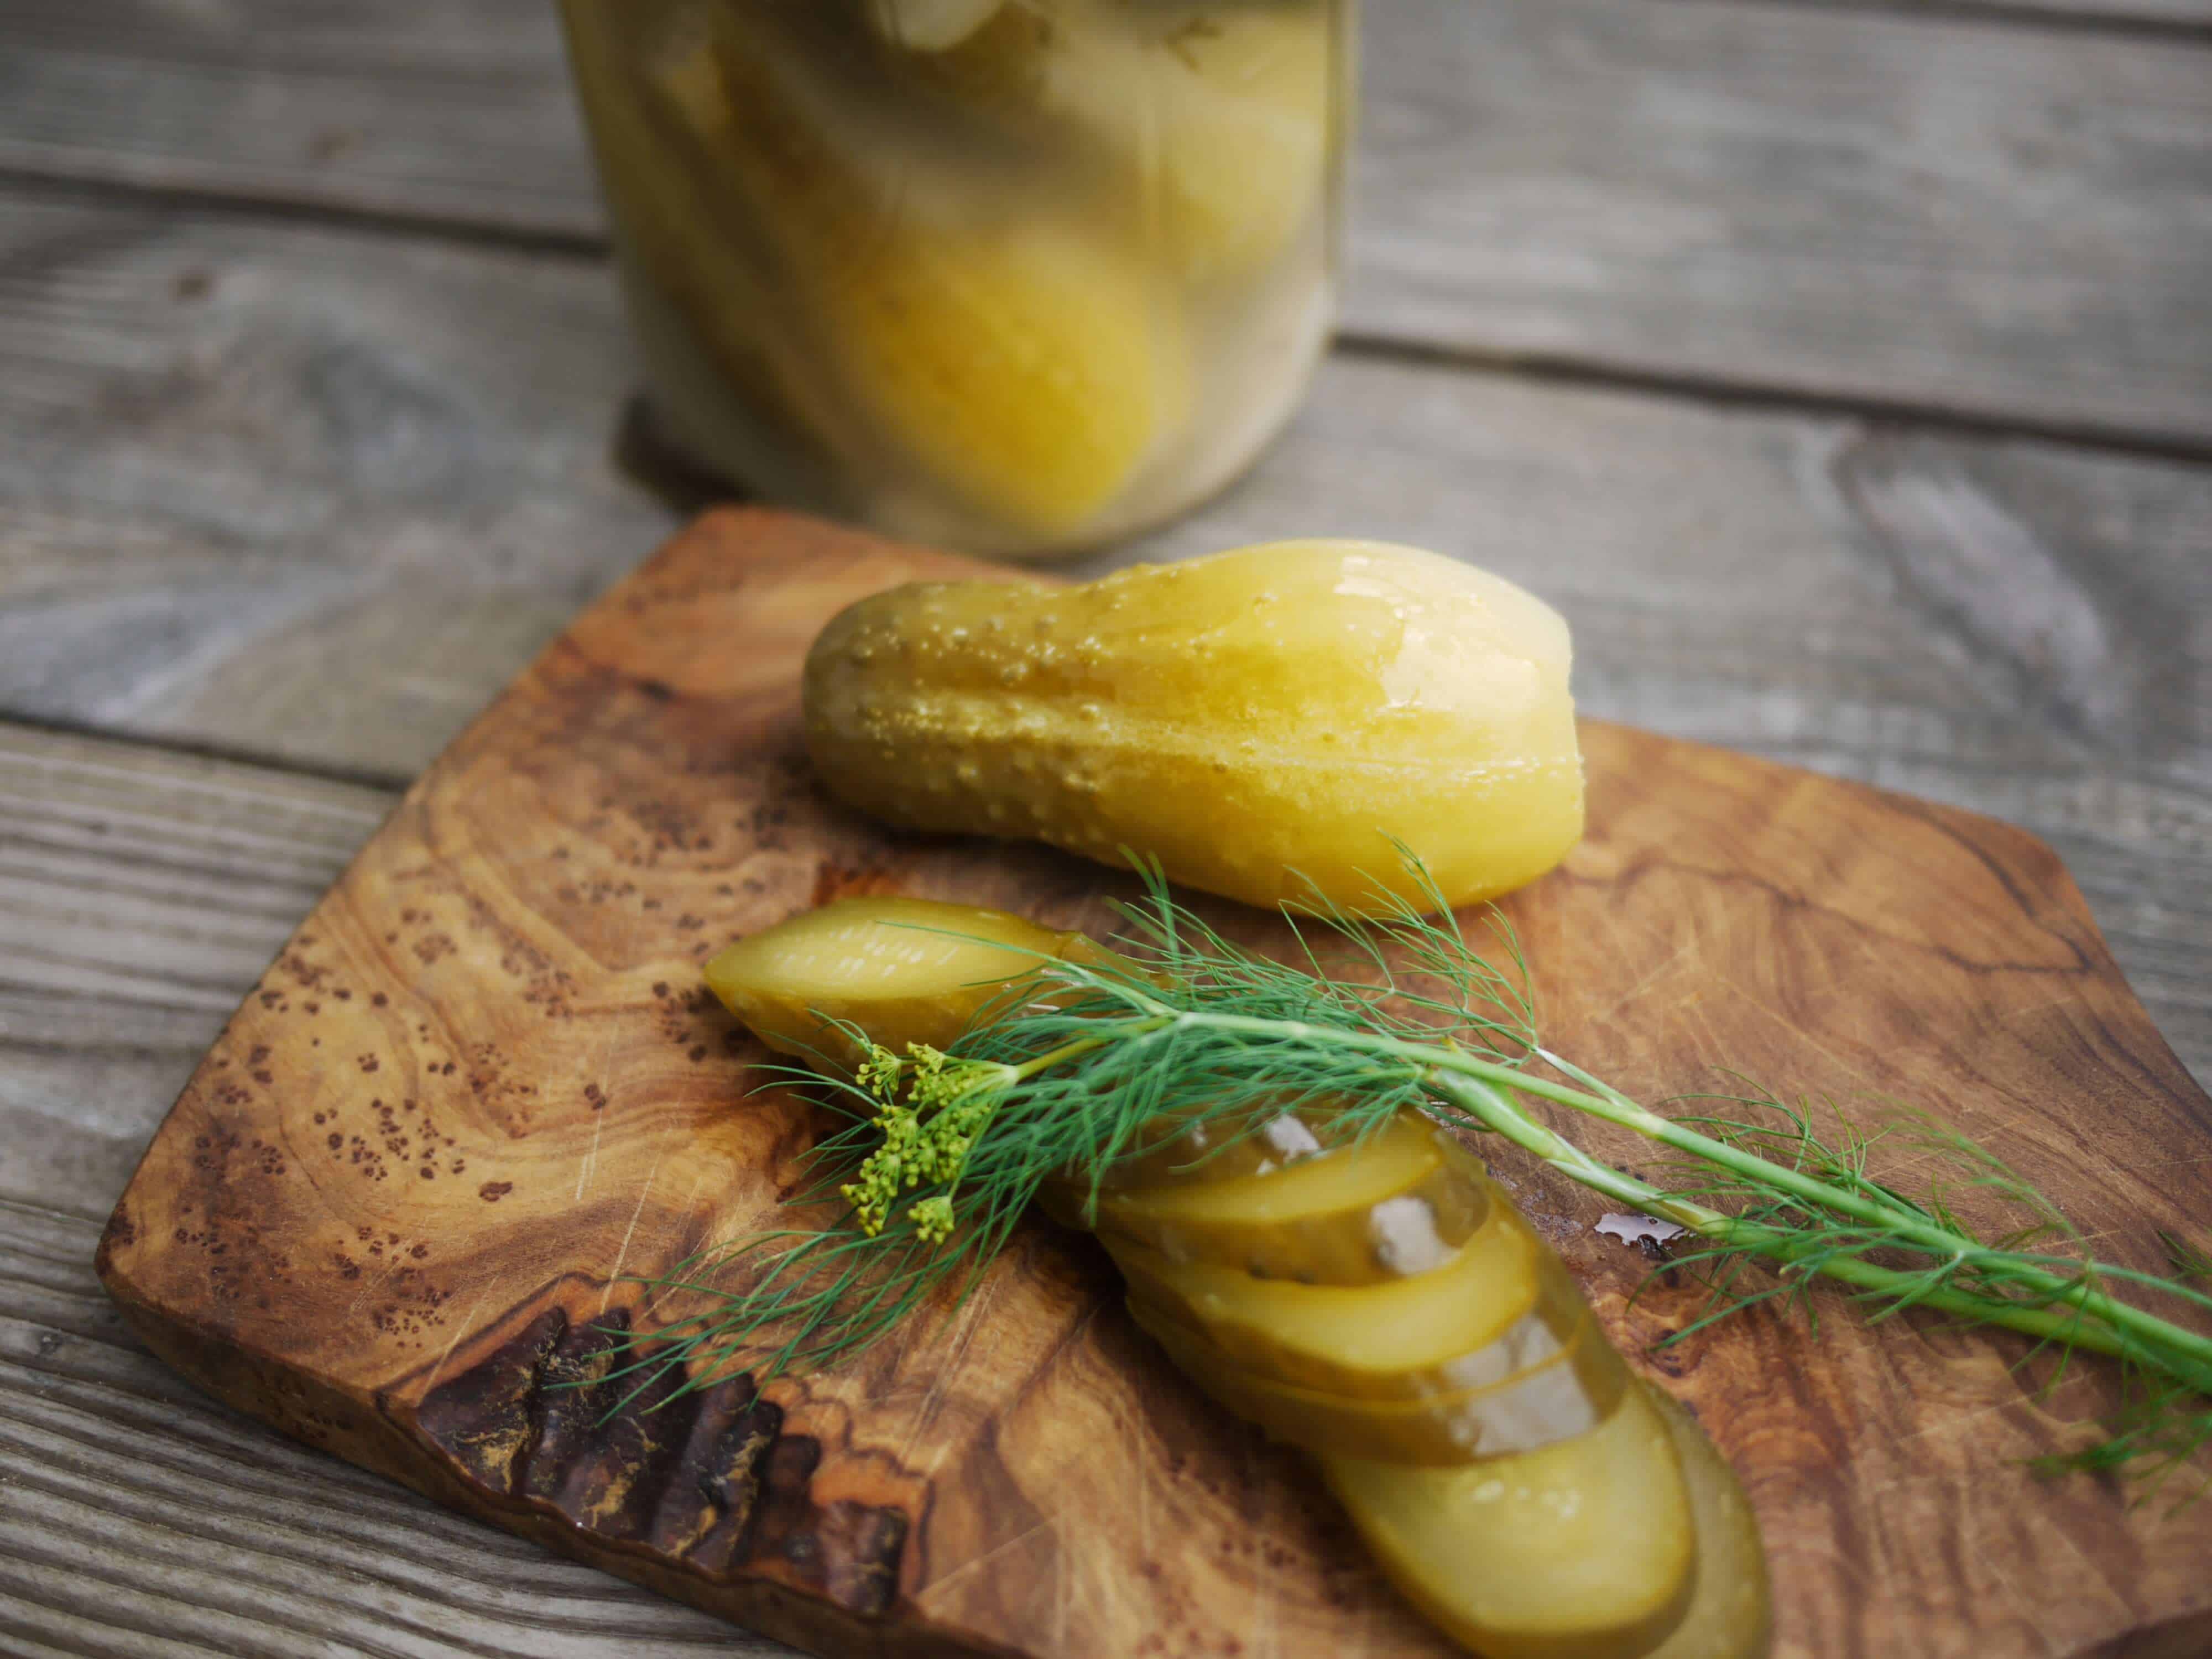
I start tasting the pickles after a few days, once I see some bubbling activity and the brine gets a little cloudy. I love all the stages of the pickle. From slightly effervescent and mild to mouth-puckeringly sour and suffused with garlic. It’s fun to keep tasting them as they develop.
Once you’re happy with the flavor, put the pickles in the fridge, keeping them in their brine. Personally, I only let them go until they’re noticeably sour but not fully fermented. They’ll continue fermenting very slowly in the fridge.
Properly stored and checked regularly, the pickles will keep several months (4-6).
Troubleshooting
White sediment and cloudiness are generally ok. They may stem from hard water or the anti-caking agents in table salt.
Something that may alarm you at first is Kahm growth. It’s a yeast that creates at white, folded or wavy layer on top of the brine, sometimes pretty dramatic-looking. Skim it off with a clean spoon.
Mold also starts out white and, if left to grow, becomes pretty colorful at some point. I was skeptical at first when I read that Sandor Katz just scoops it off and doesn’t worry.
But some further research confirmed that simply removing it is the correct protocol. The US government-funded National Center for Home Food Preservation writes: “Fully fermented pickles may be stored in the original container for about 4 to 6 months, provided they are refrigerated and surface scum and molds are removed regularly.”
Note, however: “If the pickles become soft, slimy, or develop a disagreeable odor, discard them.”
Oh, and don’t worry if the garlic turns blue. It’s probably a reaction of sulfur in the garlic with enzymes or the developing acid.
How to eat your brined pickles
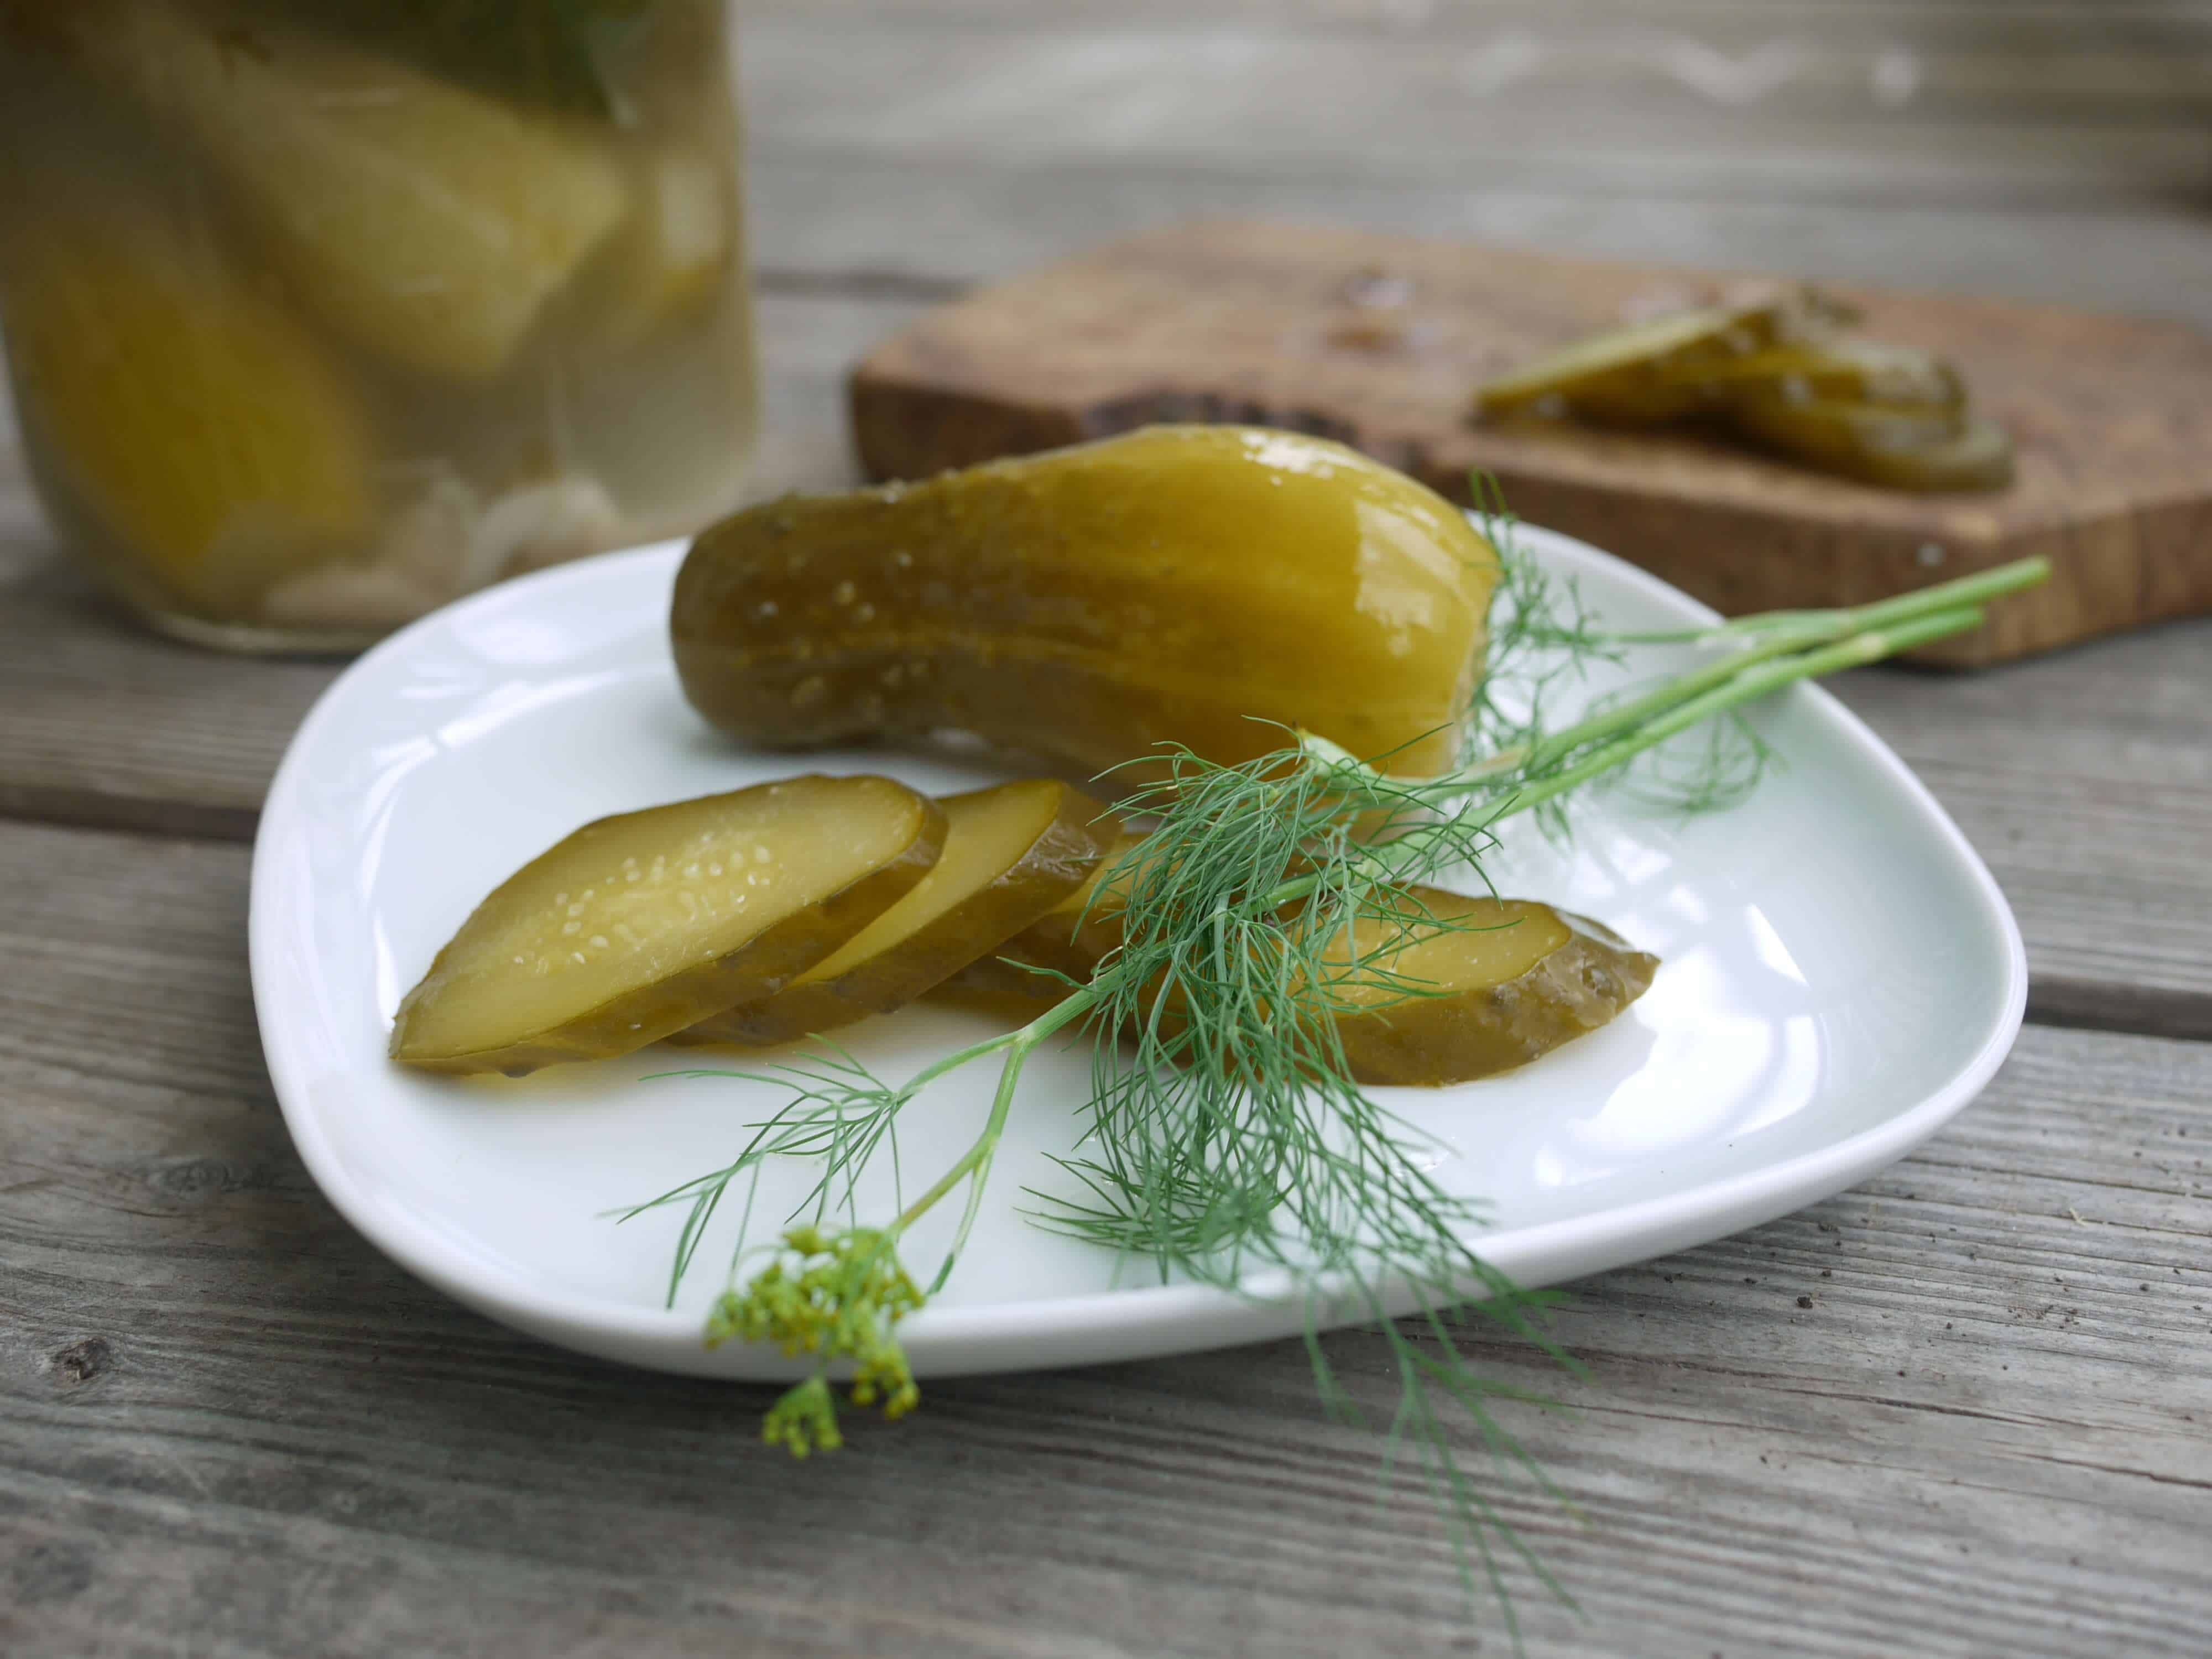
The best way, obviously, is to grab a pickle straight from the jar (with clean fingers! – or better, use a fork) and chomp right into it, standing next to the fridge, pickle juice dripping down your chin onto the floor.
Or add slices to sandwiches (I love Cuban sandwiches!). Chopped, they’re great in egg or German potato salads. I sometimes mix pickles and fresh cucumbers with lots of dill, sour cream, and finely chopped onions. They also pair really well with meat, like in German Rinderrouladen (beef rolled around bacon, mustard, and pickles).
What to do with pickle brine
Soon you’ll have munched your way to the bottom of the pickle jar. But wait, don’t toss out that brine! There’s still a lot you can do with it.
There are a bunch of claims about the benefits of pickle juice floating around the internet. They often confound fermented pickles with vinegar pickles, so I don’t find those lists very useful and I’m not going to go into those here.
Anecdotally, however, I can say that I find taking shots of fermented pickle juice delicious and refreshing. Even if the lactic acid bacteria have already begun to die off, according to some research there’s a good chance they’ll still convey health benefits.
Some other uses for brine:
- Throw some peeled, hardboiled eggs into the brine and let them steep for a couple of days. Great snack!
- Quick-pickle some fresh cucumber slices for a day or two. Eat them within a few days.
- Slice or chunk cooked beets and let them sit in the brine for a few hours or a day. Remove and enjoy as a snack or in a salad. Add peeled, hardboiled eggs to the now red brine. (You may want to add a little salt for flavor, since some of it will have gone into the beets.) Leave overnight, then enjoy your gorgeous pink eggs.
- Use brine to flavor salad dressings or marinades.
- Add to some kind of cocktail. (I lack all expertise in this area.)
At this point, you can probably already guess that I don’t just toss out the pickled garlic cloves either. I use them in salads, dressings, marinades, or any dish that calls for garlic.
Make your own lacto-fermented pickles
Whew. Now that you know more than you ever knew you wanted to know about pickles, here, finally is the recipe! Have fun, good luck, and let me know how they work out! I love emails and comments and Facebook posts.
Like what you’re reading? Get more fermentation recipes and natural living tips right into your inbox.
Sign up here for the Happy in the Hollow newsletter.
Lacto-fermented Pickles Recipe
Ingredients
- 2 to 2.5 pounds small pickling cucumbers
- 5 fresh garlic cloves
- 5 sprigs fresh dill (flowering heads)
- several grape leaves (or oak, sour cherry, horseradish, tea, bay)
- 2.5 ounces fine sea salt
- 1.5 quarts unchlorinated water
- optional spices: 1 hot pepper, pickling spice or other herbs, finger’s length of horseradish
Equipment
- ½ gallon mason jar or ceramic crock
- resealable plastic bag, pickling weight, or jelly jar for submerging pickles under brine
- mason jar lid, or cloth and rubber band for covering the jar
Instructions
In a large jar (another ½-gallon mason jar works well), mix the salt and room-temperature or warm water until the salt is dissolved. (If using warm water, let it cool down before adding it to the pickles.) 1.5 quarts should be enough to cover the pickles and fill a plastic bag to weigh them down. For 1.5 quarts (1.4 liters) at 5% salinity, use 2.5 ounces (70 grams) of fine sea salt. According to this conversion site or Sandor Katz, that should amount to 4.5 to 5 tablespoons.
Wash the cucumbers, removing any soil, and optionally soak them in cold water. Cut off the blossom end.
Layer the cucumbers, garlic, dill, and grape leaves into the jar. Finish with cucumbers to help keep any herbs from sticking out from the brine.
Give the brine one more stir to get any remaining salt from the bottom of the container and pour it over the cucumbers. Cover them completely but leave about an inch of head space in the jar.
Submerge the cucumbers and spices under the brine with the help of a fermentation weight, a smaller glass jar, or a brine-filled resealable plastic bag. Cover with a lid or cloth.
Ferment the pickles for several days at room temperature. Check at least once a day, remove any foam or yeast with a clean spoon, and start tasting them after 3-4 days. Once the pickles have fermented to your liking, store them in the brine in the fridge.
Helpful links
Further reading on fermentation

![]()

![]()

![]()

![]()
Related posts
Ultimate Pantry Challenge Guide: Eat up and Save Money
How to Choose a CSA You’ll Love
Pin this post for later:
 Favorite Things for July 2018
yum, yum, YUM–can’t wait to make my own pickles!
Bon appetit! 🙂
This bring back my childhood memories when My mother made these. They are so yummy I wish I had some now. thanks for sharing.
Maybe you’ll be making your own someday. 🙂
Hello,
Do you know how to ferment green papaya? I would like to try it sometimes. I will just use green papaya instead of cucumbers. I’m excited.
What a great idea! I’ve never tried to ferment green papaya, but I think the process should be much the same. Please let me know how it works out.